PicProofs
About
Pricing
Get Started
Contact
FAQs
Log In
Creating a New Job
Creating and setting up your image proofing jobs on PicProofs is easy and fast:
After creating your job, you will arrive at the Job Overview page.
We suggest starting with Access Options for the job.
1
Choose Access For Your Job
Standard Access (default) allows all viewers to view your job with a unique Access Code you create. They will also enter their email address on the login page, which saves their selected favorites into a personal collection.

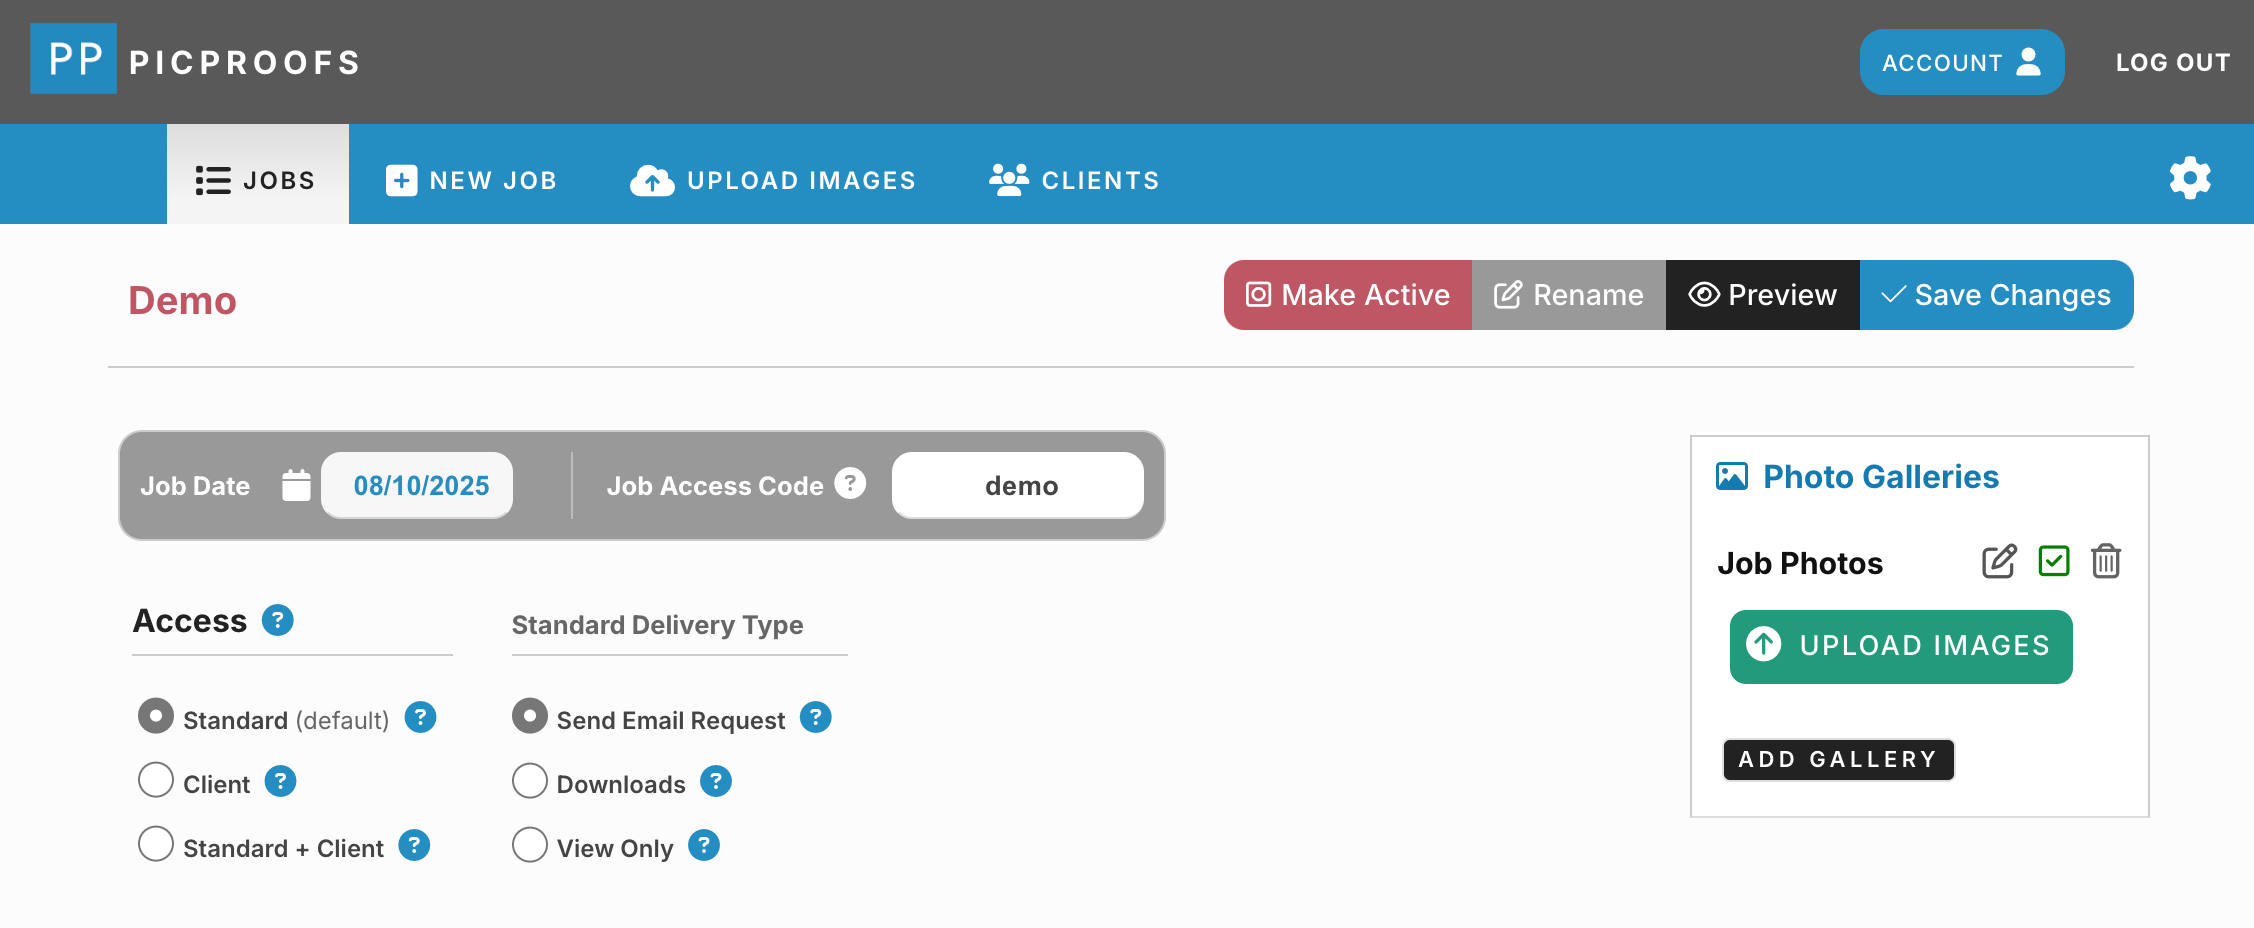
Your visitors can view your images, mark favorites and send you a listing of their favorites along with optional comments and instructions. You can select "View Only" or "Download" access in your job settings. Downloaded images will be sized to a maximum 1800 pixels long dimension.

Use this default option for most jobs.
Client Access uses an Access Code and Client Password to view your job. After entering the access code and email address on the login screen, our system checks to see if you have set up specific client access - if the client email addess is entered, an additional password entry box will appear to complete their client access login.
Client Access allows downloads of large original files for a specific client.
Standard + Client Access allows separate Standard and Client access for the same job.

For example, a wedding photographer might choose to use Client Access that allows only the wedding couple to download large images.

But for the wedding visitors, the photographer could also add Standard Access with view-only permissions or downloadable image permissions sized for screen-sized (1800-pixel long dimension) downloads.

2
Upload Your Images
Upload your originals in JPG format. With a job intended for standard viewing or if you don't want your client to download large original files, size your images to a maximum 1800 pixels long dimension.

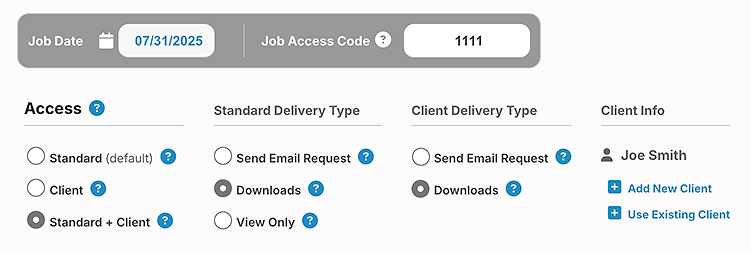
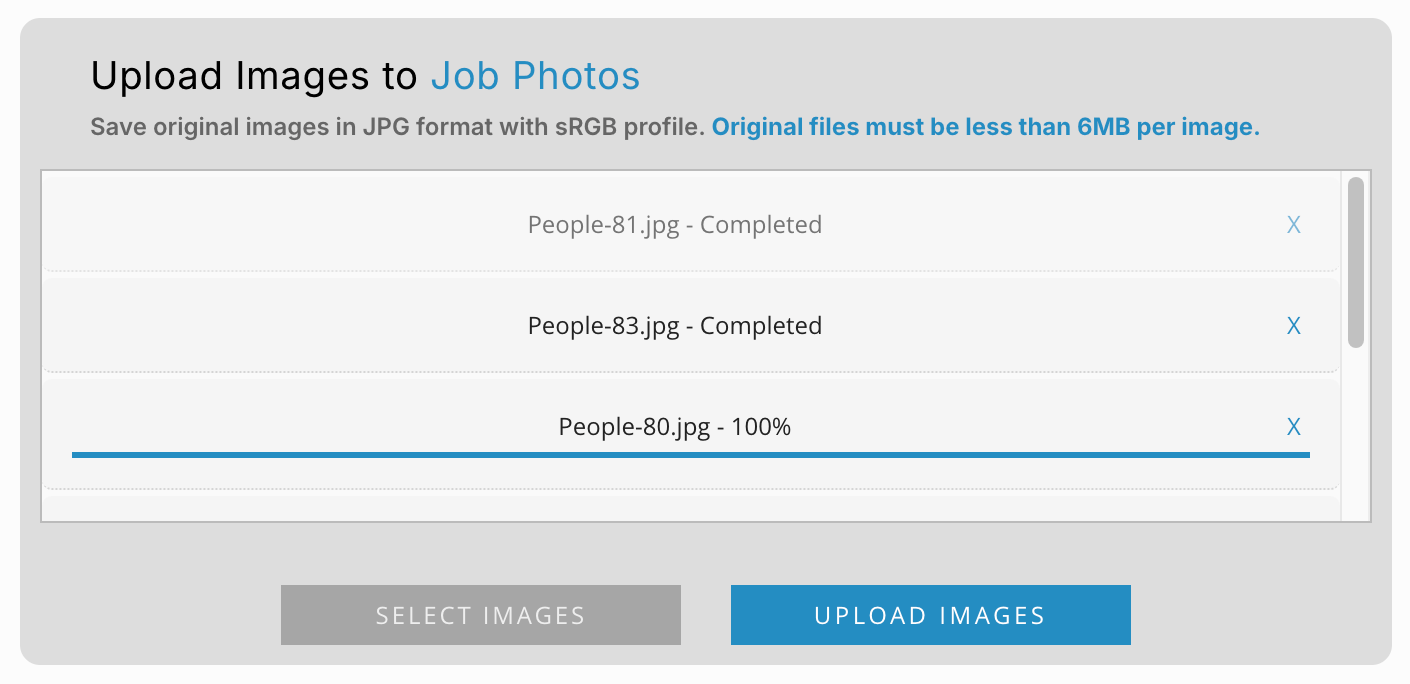
If you have a client job where you want your user to download large files, upload large JPG files (there is a 6MB file size limit for each file - use a maximum JPG quality of 80% to reduce file size without affecting image quality).

Learn more about sizing and saving images for uploading

You can upload your images directly into photo galleries or move them between galleries later.
3
Edit Your Job Display Preferences
After creating your job, edit your job preferences and get it ready for online viewing. You can choose options for your landing page as well as a header font and style. By default, your job will display with a white color theme, but you can choose from five other display themes as well.

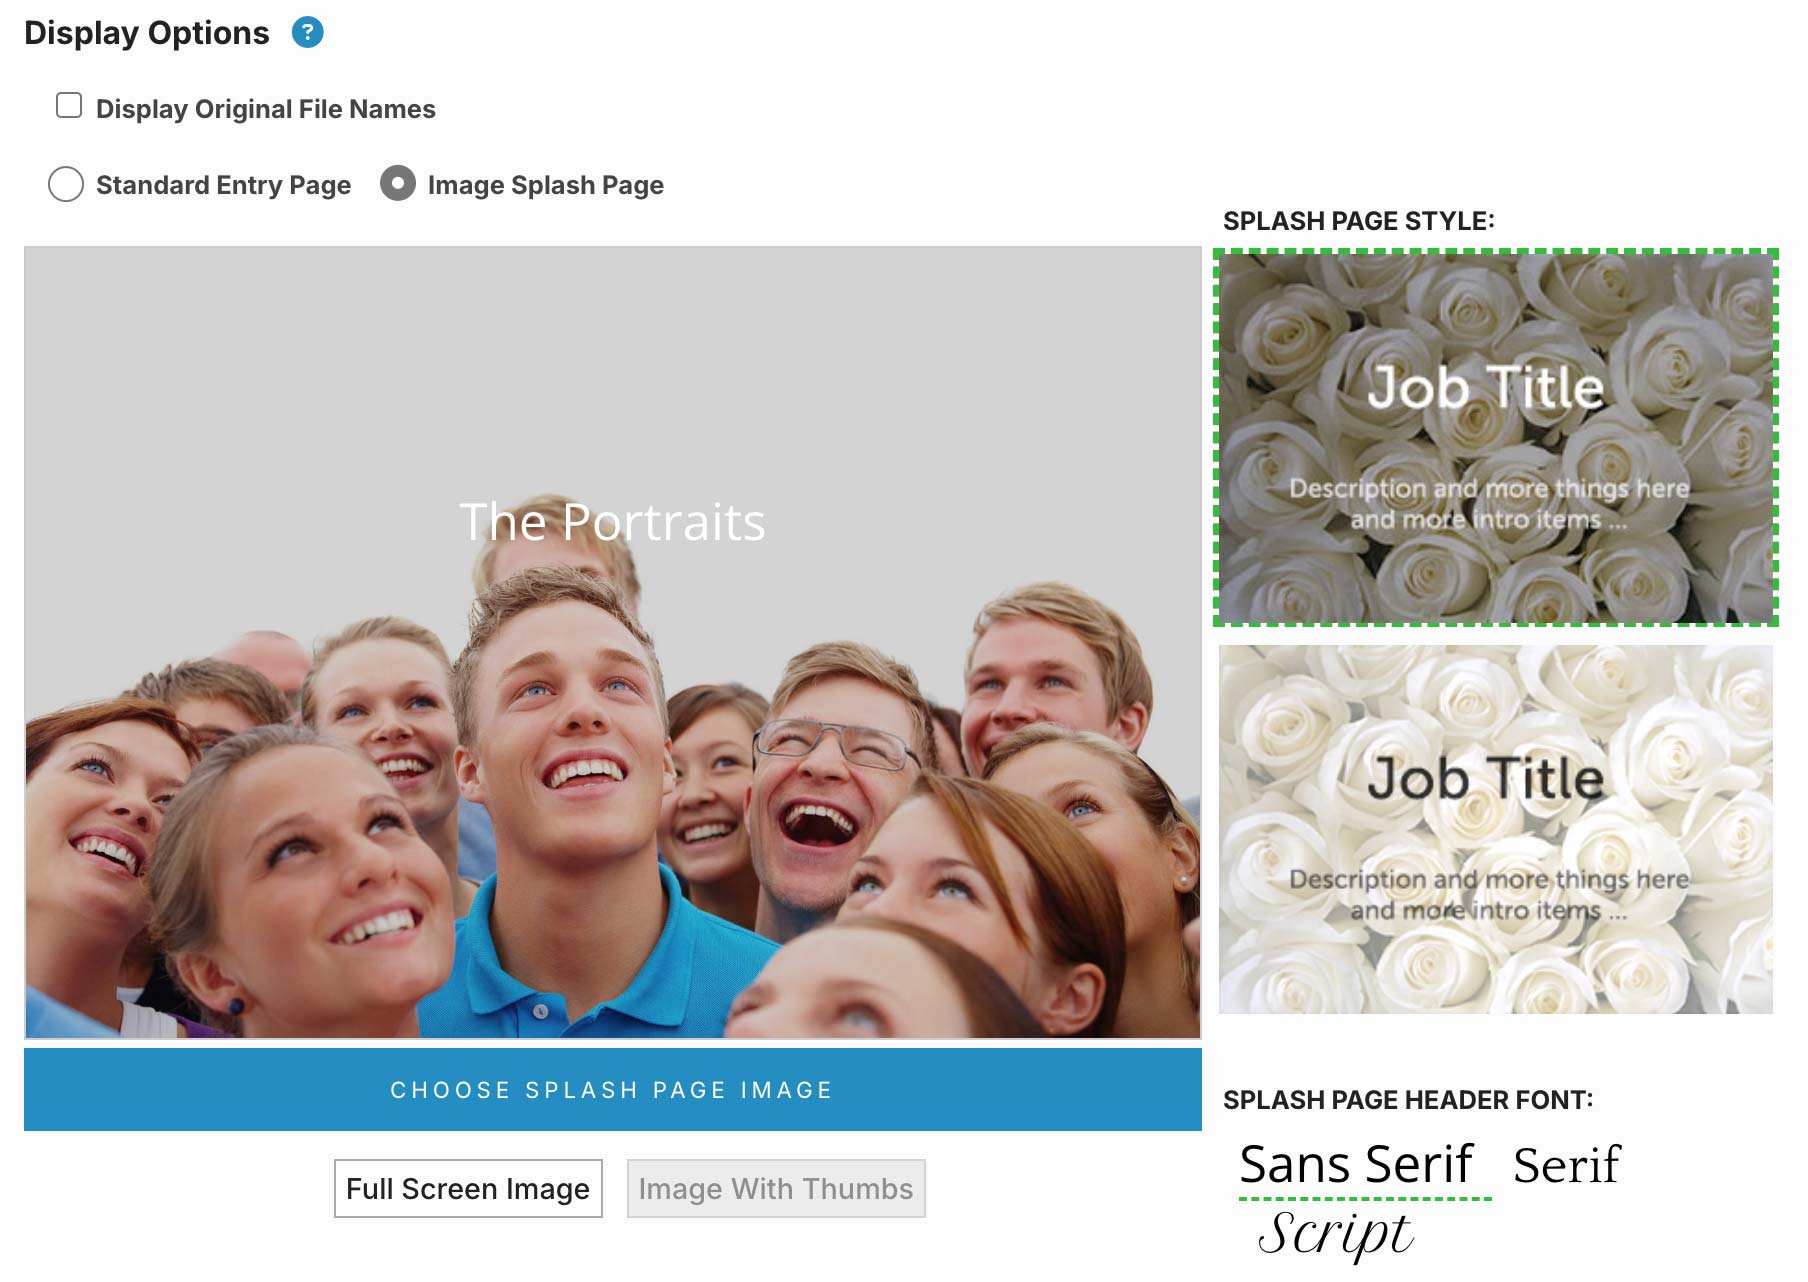
You can also choose your landing page style, including choices for a full screen image, a large image with gallery thumbs, a standard landing page with gallery thumbs, or a landing page with the thumbnails of your first gallery.
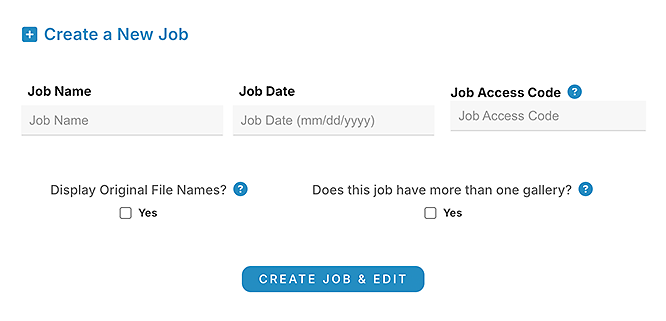
After you upload your images and finish creating your job, click the "Make Active" button at the top of your job settings and send a link for your PicProofs site to your user along with the access code and any optional instructions.

You're ready to go!